My STEM-inspired sewing endeavors started in 2019 after a desire to have a space-themed dress for outreach activities. After two dresses, a blog post, and getting to share my sewing and artistic passions in late 2020 via the Sentinel-6 Michael Freilich launch media events, I wanted my next STEM-themed sewing project to take things to the next level — it was going to twinkle! I’ve always enjoyed seeing garments that light up, and I decided it was time to have one of my own.
Similar to my Effie costume, I knew this project would need to be created almost entirely from scratch. Sewing patterns don’t exactly include instructions on how to sew in and power LEDs… The benefit of making outfits from scratch, of course, is that I can make them exactly what I want (design, fabric, fit, etc.). On the flip side, there are no step-by-step instructions to follow, which means planning ahead, many redos, and lots and lots of learning along the way. Fortunately, planning is something I have a knack for — it’s a big part of my “day job” and apparently I used to plan my childhood birthday party itineraries down to 10-minute increments. This was going to be a piece of cake, right?! ;)
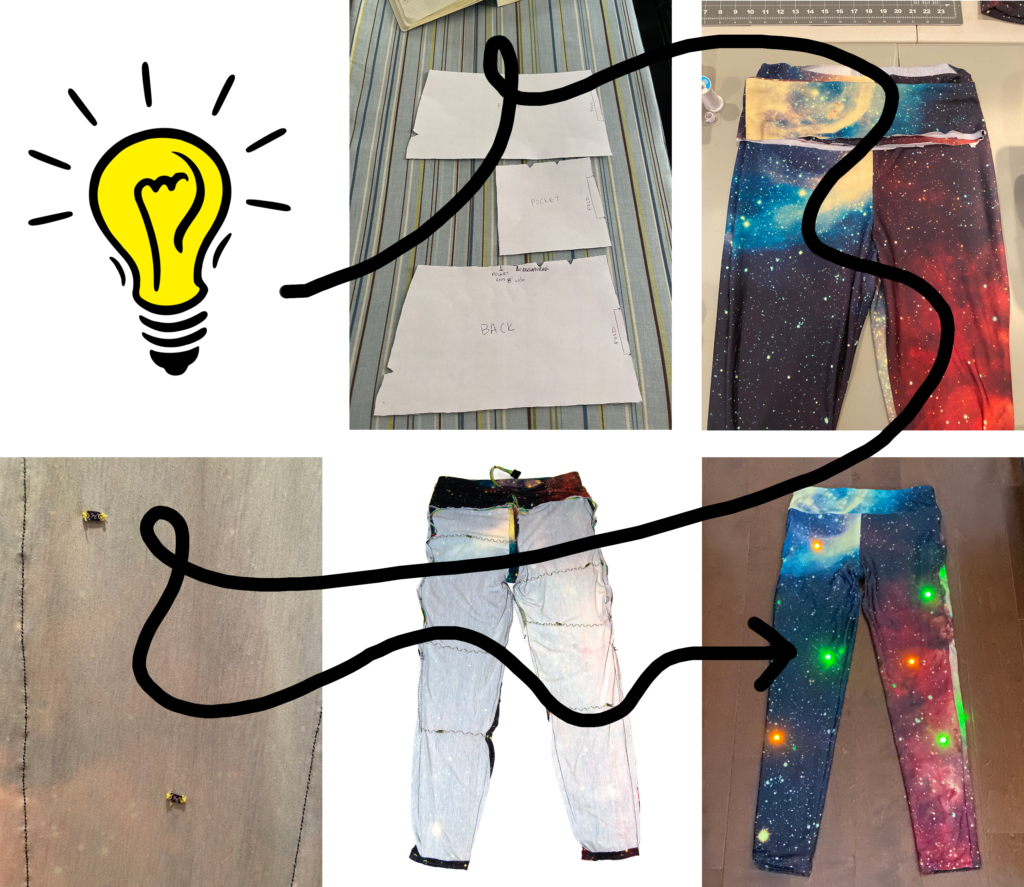
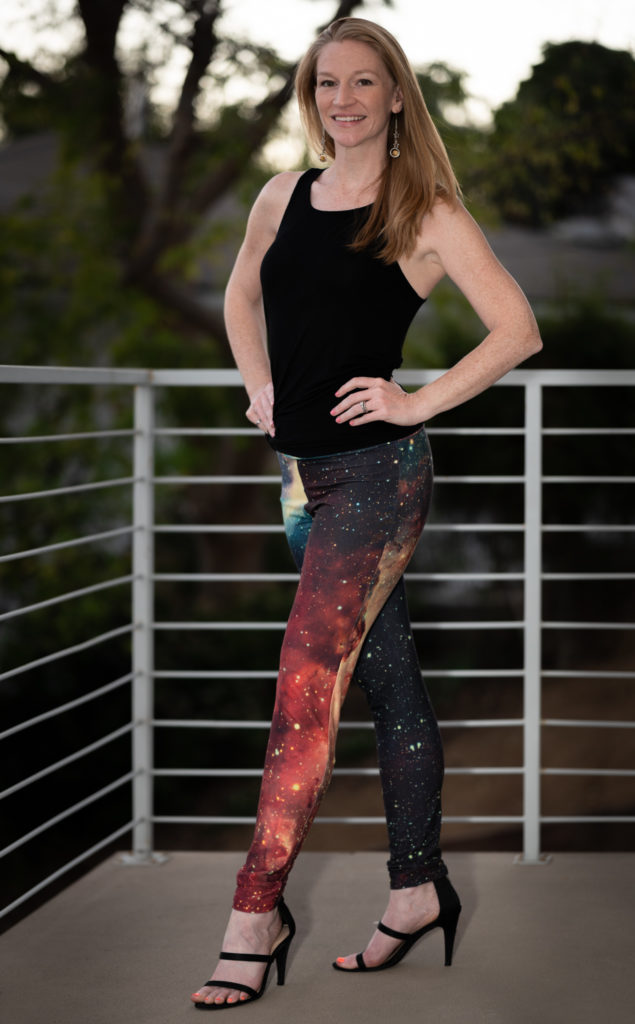
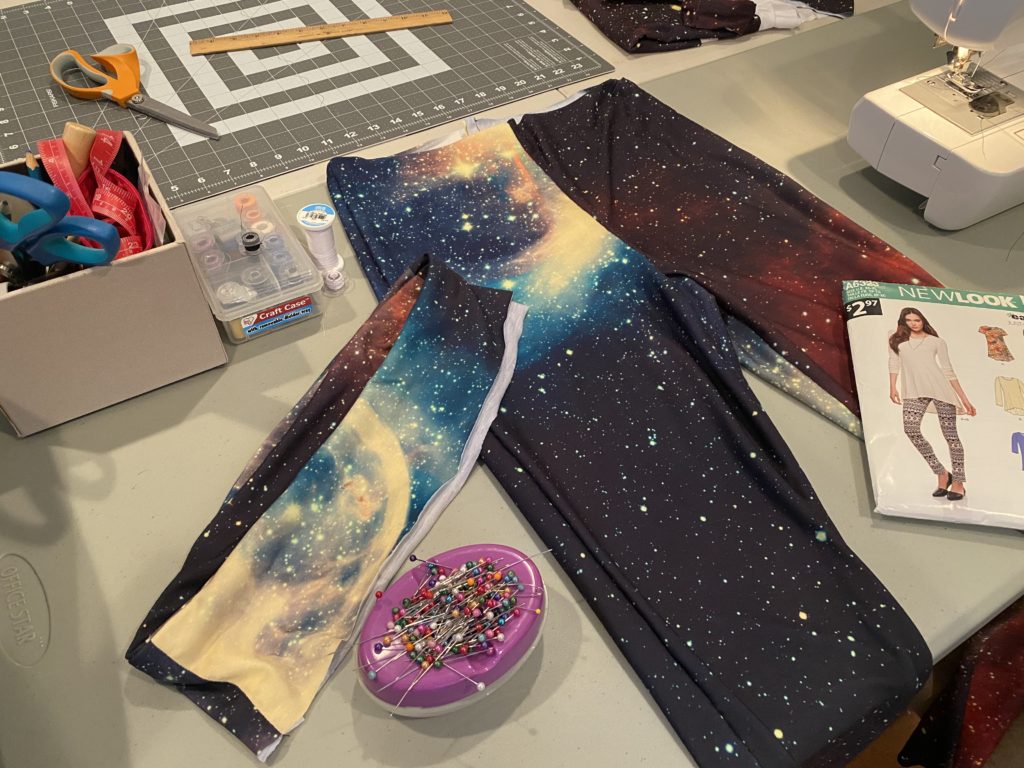
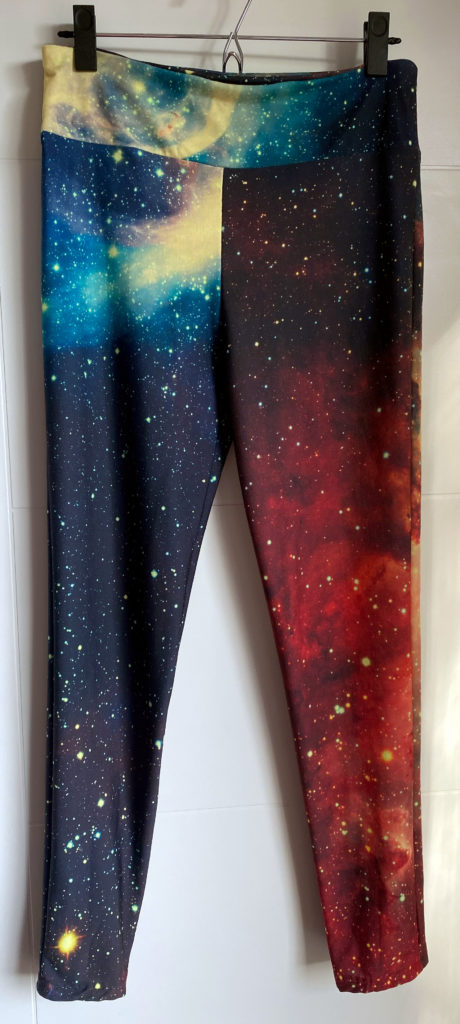
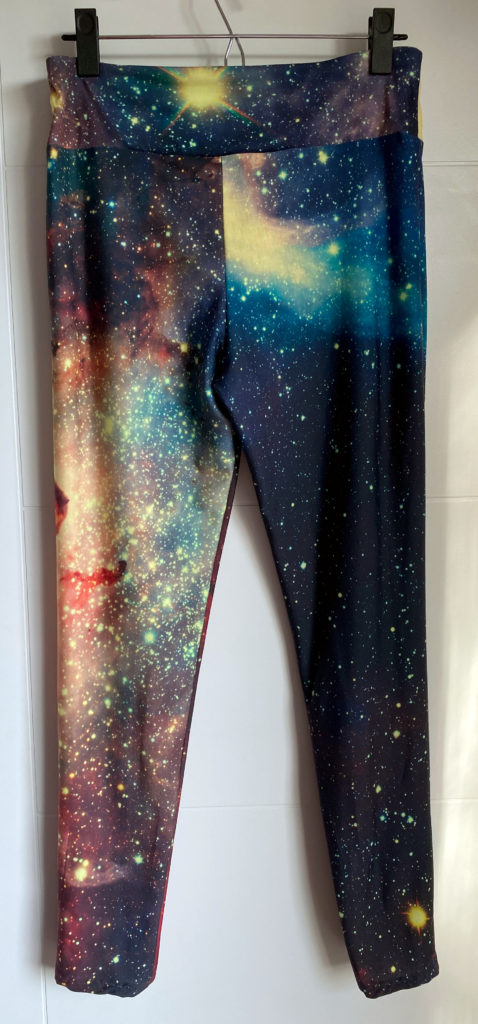
The first part of my LED sewing project was to create the garment. A few years after I got my sewing machine, my younger sister gifted me a couple of sewing patterns, including a pattern for leggings. I quickly got excited at the idea of space leggings that twinkled on the stars. For the fabric, I found this great website that sells thousands of designs from independent artists in a variety of fabric types. I selected the Candy Carina Nebula design in Modern Jersey.
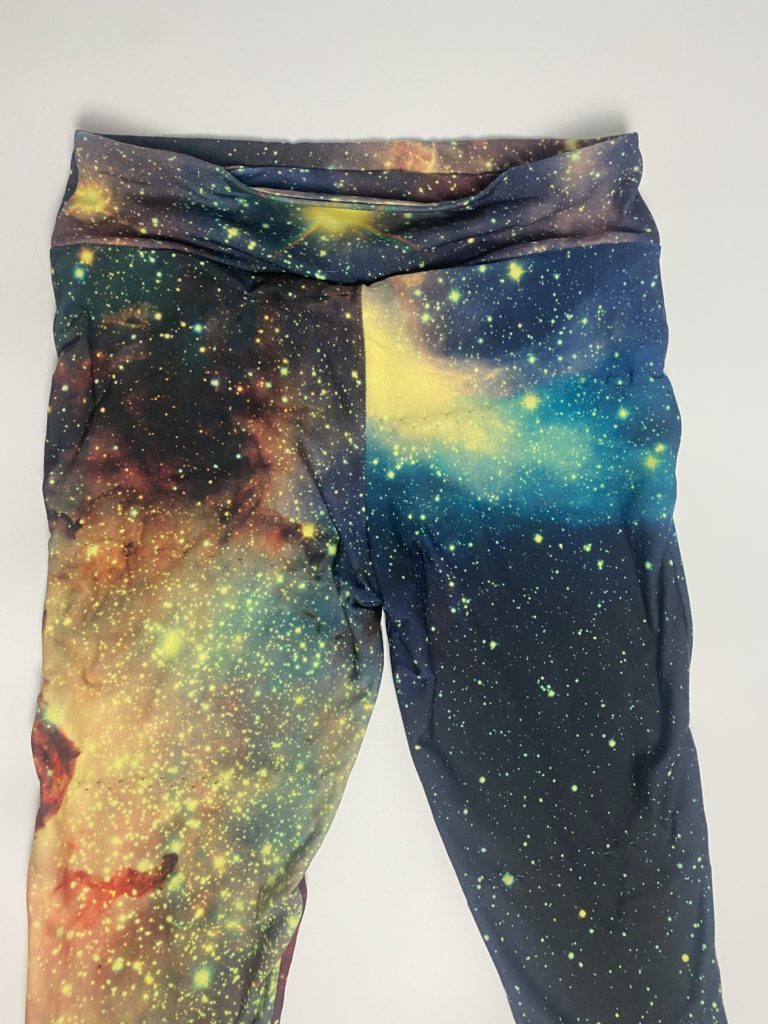
As I was getting ready to create my Nebula leggings and thinking ahead, I ran into one hiccup. Where was I going to store the parts needed to power and control the LEDs? Although I hadn’t decided yet what parts I would use, I knew I needed a battery and some type of circuit board to create the twinkling effect, and I would need a place to store them in the leggings. However, the leggings pattern had a very narrow waistband, and I wanted the leggings to be fairly fitted. After many years of practicing Yoga, I coincidentally have a number of Yoga pants with wider waistbands and pockets, and I used them as templates (plus help from YouTube videos) to modify the leggings pattern to get a wider waistband with a rear pocket.
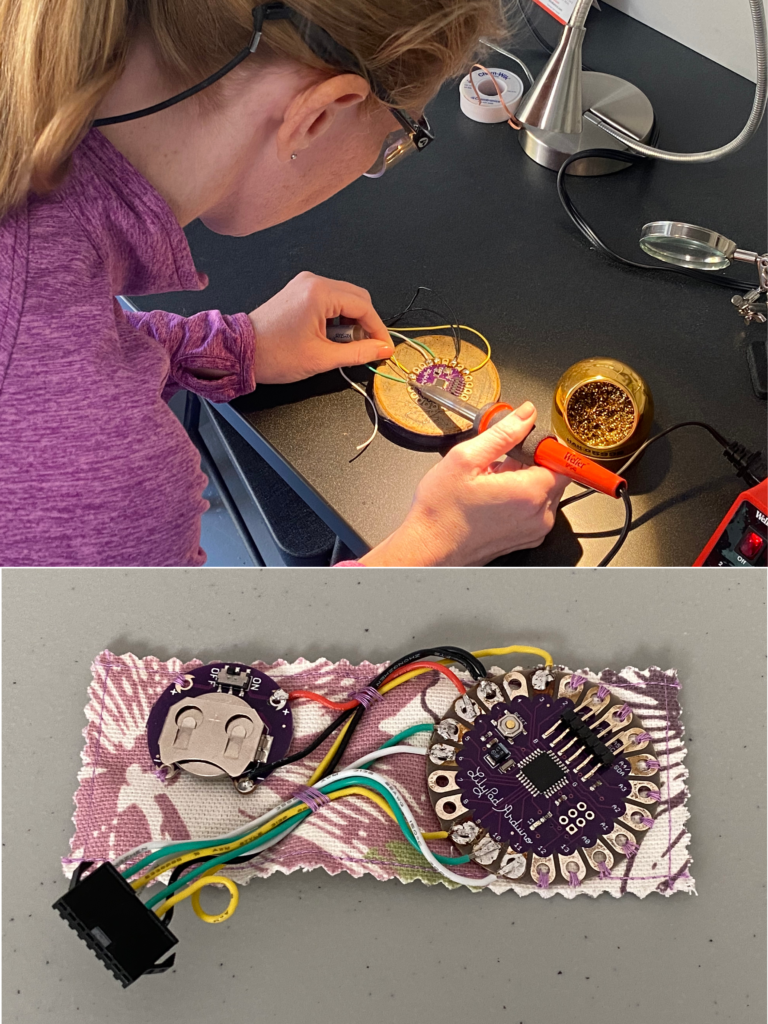
Once my Nebula leggings were done, the next part was to plan out the end-to-end electronic design. Although I am not an Electrical Engineer, my work at JPL has exposed me to many electrical engineering applications (particularly cable wiring and routing). I also have a very helpful husband who has pursued his own electronics projects and thankfully has a lot of equipment (insulated wire, crimpers, connectors, multimeter, etc.) that I could “beg, borrow, and steal.”
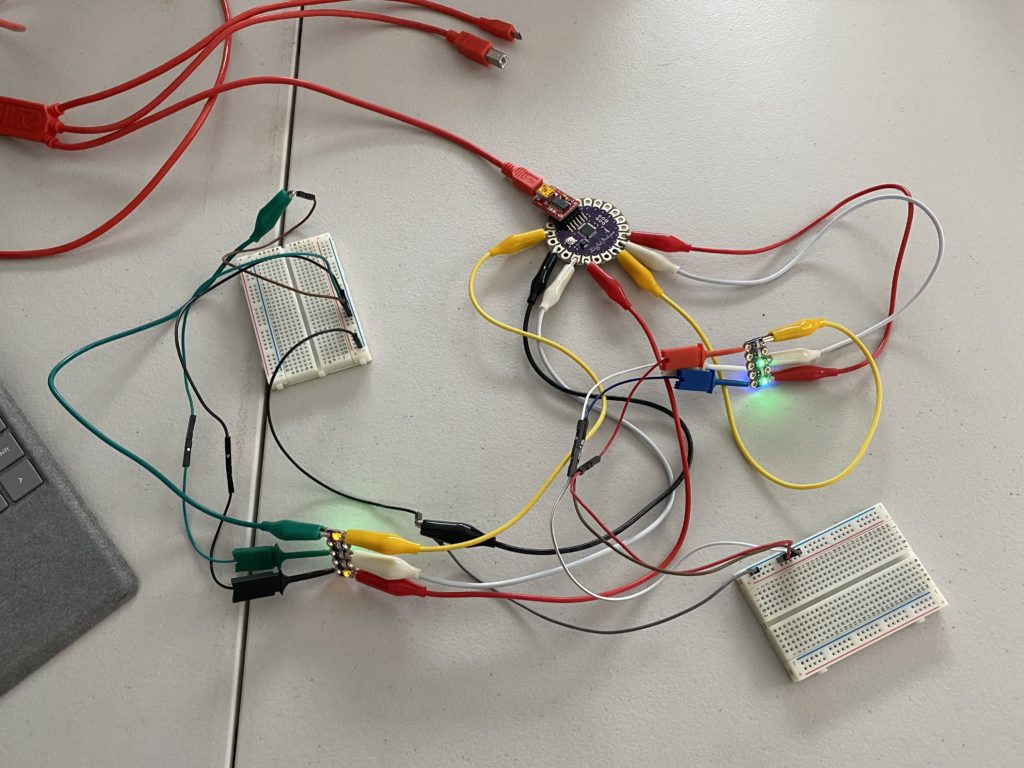
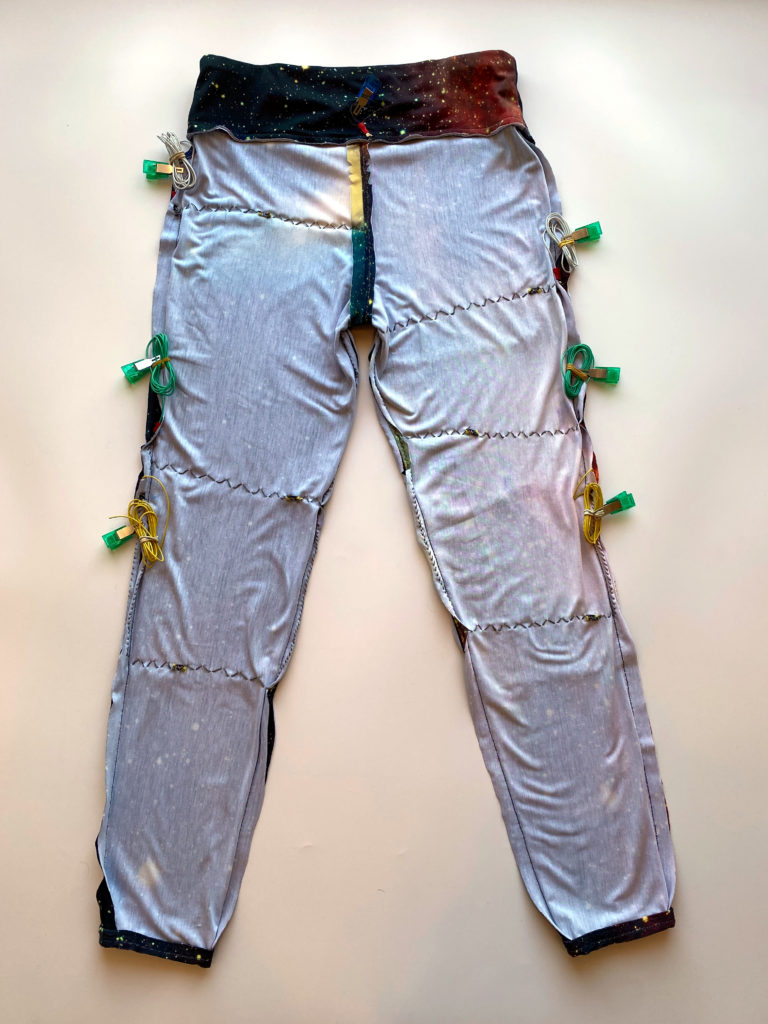
I selected the LilyPad Arduino from Sparkfun, which has a great line of e-textiles that are specifically designed for wearable electronics, and I also purchased the LilyPad coin cell battery holder, LEDs, and conductive thread. I then planned the LED locations and wire routing, which included using conductive thread for a common return line down the inseam of the leggings and insulated wires for the signals down the outseam (to avoid shorting the different LED signals). I also opted to use a connector to connect the LED and Arduino wires such that the Arduino and battery could be easily taken out of the leggings for washing. Lastly, I created a breadboard of the end-to-end electronic design and an Arduino twinkle program to confirm everything was working as expected.
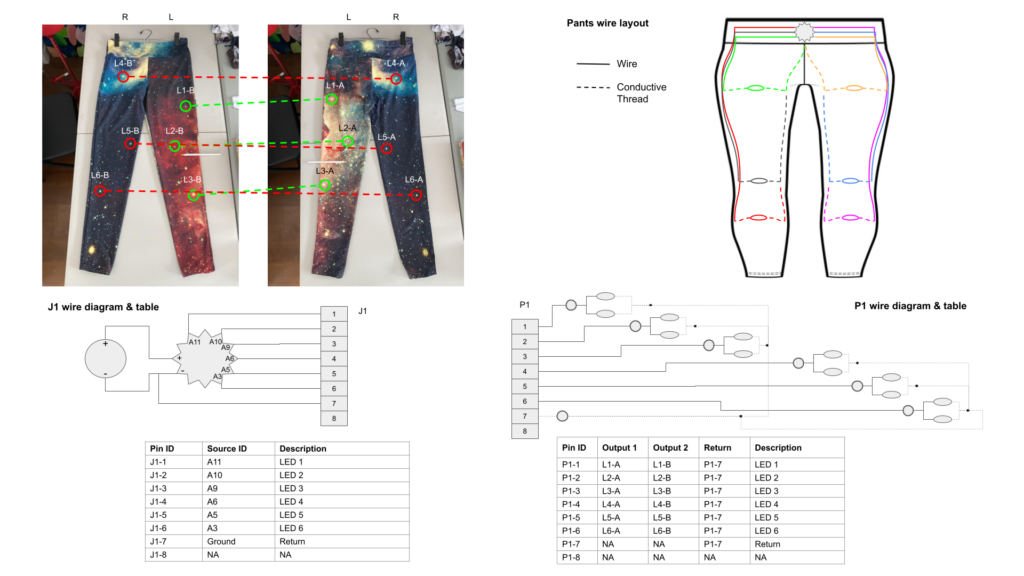
The final part of my LED sewing project was to install all the electronic parts into the leggings. I started with sewing in the LEDs with regular thread and then sewed all the return lines from the LEDs to the leggings inseam. Next I sewed all the signal lines from the LEDs to the insulated wires in the leggings outseam, secured the insulated wires in the seam allowance (so they wouldn’t move around), and then crimped all the legging wires to a connector. Finally, I soldered the Arduino board and coin cell battery holder wires, crimped the Arduino wires to the mating connector, mated the two connectors, and voila!
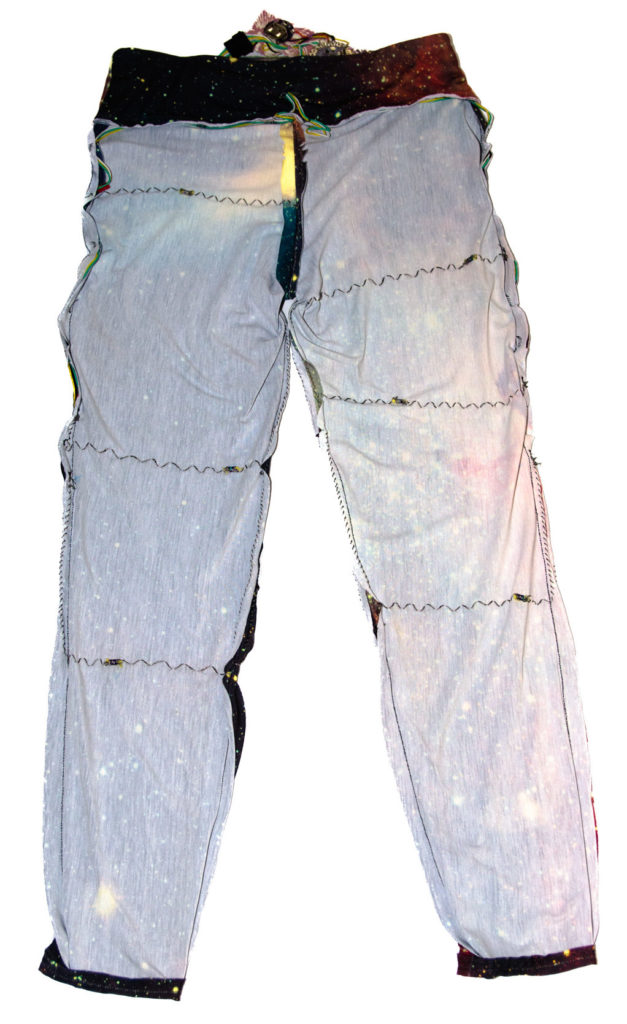
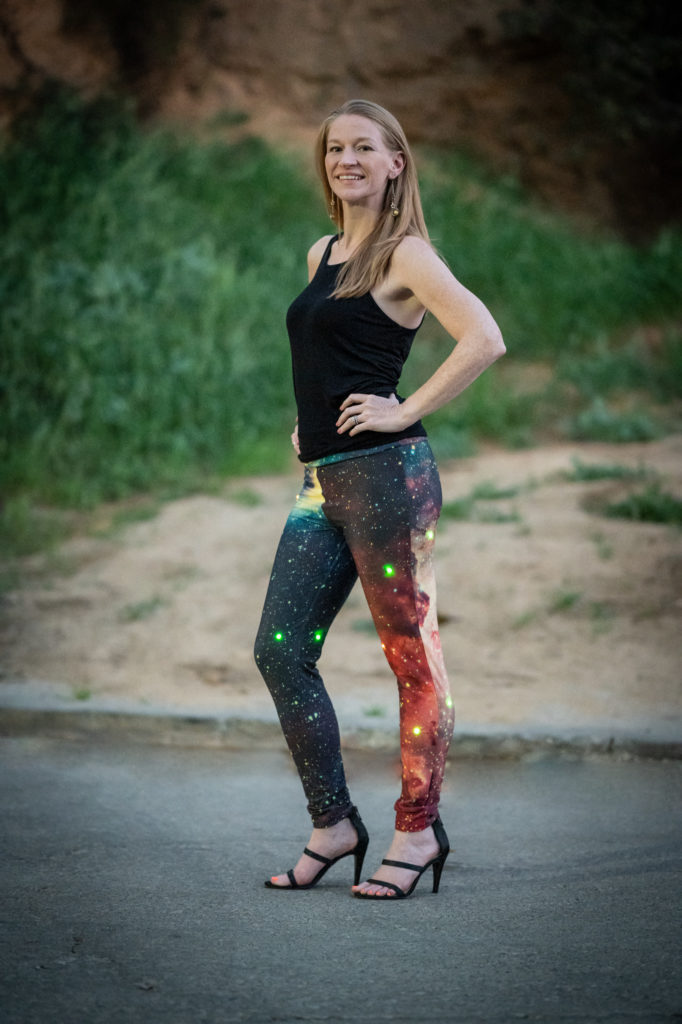
Overall, this was a challenging project with several starts and stops along the way, a LOT of hand stitching for the LED wiring (with the added obstacle of the stretchy leggings fabric), and a few “whoopsie” moments with the soldering and wiring. Nonetheless, it was incredibly satisfying when everything worked as planned in the end. I now have my twinkling, space-themed leggings, and I can’t wait to wear them to a future outreach event. :)
Fun Fact #1: Coincidentally, the inspiration for this project was the same source as my initial space-themed dress. While volunteering in South Korea at a space camp in July 2019, one of my colleagues wore a Romantic tutu that lit up with pink LEDs at the Science Magic Show where they made Elephant toothpaste and liquid nitrogen ice cream. I plan to create a blog post in the future about my Korea Space Camp adventures.
Fun Fact #2: I sang “Over the Rainbow” from The Wizard of Oz at my first talent show (3rd grade), and this blog title is a modern homage to another famous song from that movie.
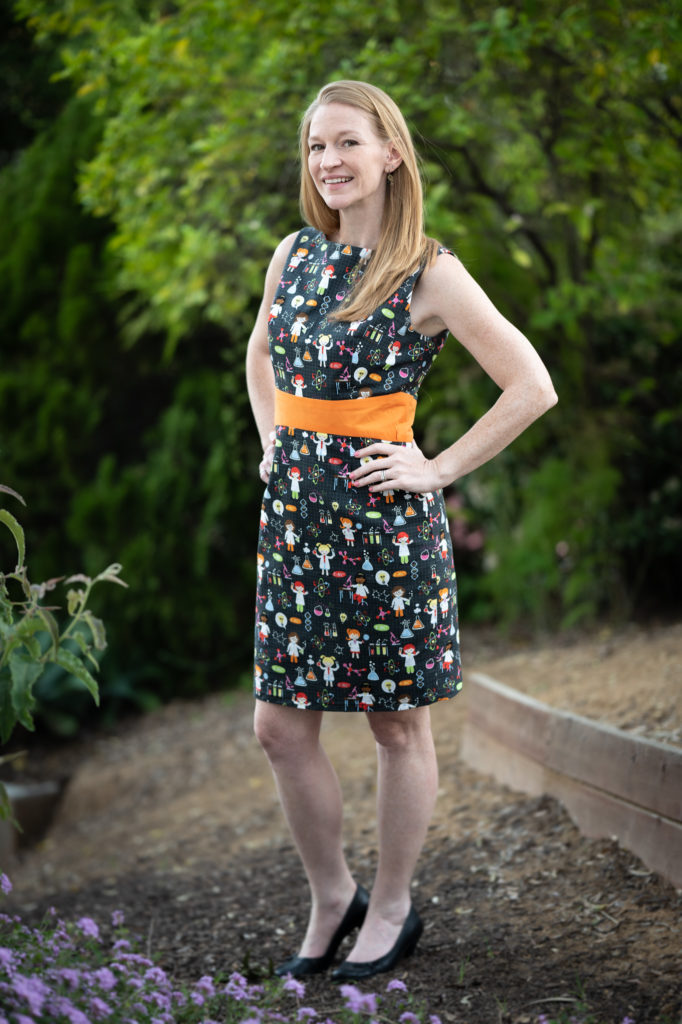
P.S. In my “Bending the Fabric of Space… into a Dress!” blog, I had a teaser about making another STEM-themed dress with this adorable fabric I found, and here are pictures of the finished product.

You are amazing and I am proud of you beyond measure.